Revolutionize 3D printed metal quality control with advanced X-ray CT
Experience unparalleled precision in quality control for large metal objects with cutting-edge 3D X-ray CT technology.
While 3D printing offers revolutionary design freedom, ensuring the quality of finished products remains a significant challenge. With new 3D X-ray CT technology at ESRF, you can now inspect large metal objects with unprecedented resolution. This makes it possible to identify the most frequently occurring errors in 3D printing with non-destructive X-ray measurements.
Quality control of 3D printing with X-ray technology
The dream scenario for quality control of 3D printing/additive manufacturing is to use X-ray to perform a 100% measurement of a 3D-printed object non-destructively. This measurement is compared with the 3D CAD model and checked for errors arising in the printing process at the same time. 3D X-ray CT has long been suitable for the first type of quality control – geometric measurements.
So far, the second part of checking for errors has not been possible with non-destructive methods. When the 3D printed metal objects became larger than a few centimeters, the existing equipment did not have high enough image resolution to see the typical and relevant error sizes – 25-50 um.
Entirely new possibilities at joint European research facility
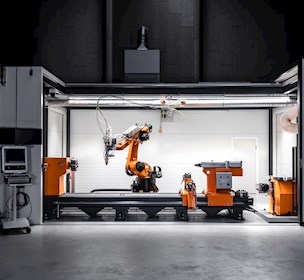
ESRF is a joint European research facility in France that produces X-rays 100 billion times stronger than what can be made in a laboratory. In 2022, ESRF upgraded their equipment to X-ray energies of 350 keV. Now they can penetrate parts with a material thickness of up to 110 mm steel/Inconel or 300 mm Al. At the same time, it is possible to measure parts up to 600 mm in diameter, 2.5 meters in height, and 300 kg. All this can be done with a resolution down to 1/1000 mm. This provides new and previously unseen possibilities.
We have been among the first commercial customers to use this new setup, and the results are amazing. The ESRF is a research institution, but the equipment is also available for measurements on a commercial basis.
Quality control
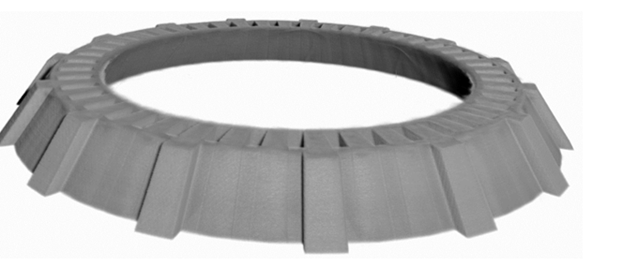
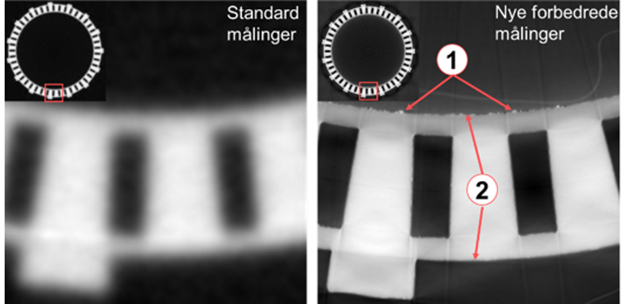
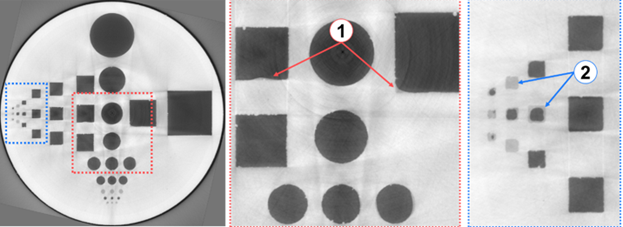
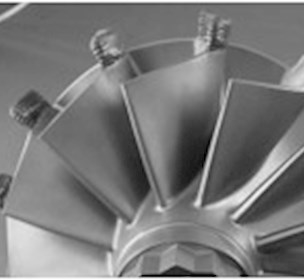
We have used the new equipment to investigate print quality in two 3D manufactured Inconel parts with a diameter of up to 80 mm and a resolution of 0.023 mm. We were able to make ultra-high-quality geometric comparisons with the CAD model. We were also able to detect the presence and frequency of the following types of deviations:
- Variation in surface roughness
- Individual particles that sit on otherwise smooth surfaces
- Small channels and corners that have been mistakenly filled in during the printing process
- Unexpected holes in the 3D print
Get access to cutting-edge quality control of 3D-manufactured parts
We have extensive experience with quality control of additive manufacturing in all industries, including Aerospace, Pharma and Plastic production. We can have your 3D manufactured parts 3D scanned with this cutting-edge equipment.
In addition to advanced 3D X-ray CT equipment, many other quality control methods are available. Contact us for advice and guidance on which quality control solutions work best for you and your parts.
